Are you eager to capture life’s moments with the perfect shot? Learning photography can transform how you see the world and immortalize memories in stunning detail.
Whether you’re a complete beginner or looking to hone your skills, photography is an art that anyone can master with the right guidance. Imagine the satisfaction of seeing your photos improve with each click, and the joy of sharing your captured moments with family and friends. But where do you start? The path to becoming a skilled photographer can be overwhelming with so many techniques and tools to explore. That’s why it’s crucial to have a reliable resource at your fingertips. Photography 101: Pocket Guide is your perfect companion in this learning journey. This guide simplifies the complexities of exposure, camera settings, and composition, making it accessible for anyone eager to learn. Dive deeper into this blog to uncover tips and tricks that will elevate your photography skills, and explore why this pocket guide is a must-have for every aspiring photographer. Your next masterpiece is just a click away!
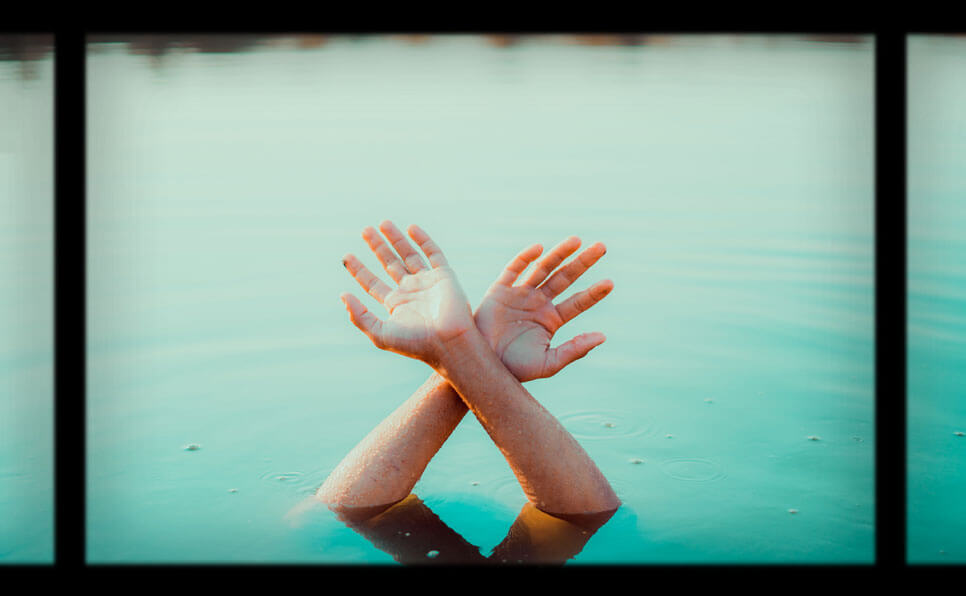
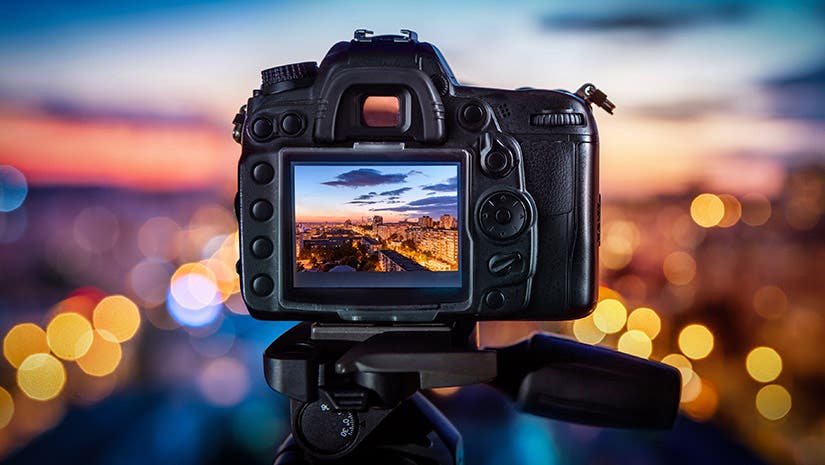
Credit: rebeccaholmesphotography.com
Introduction To Learning Photography


Get Started in Leather Crafting: Step-by-Step Techniques and Tips for Crafting Success (Design Originals) Beginner-Friendly Projects, Basics of Leather Preparation, Tools, Stamps, Embossing, & More
- Is your guide to the basics: pattern and leather preparation, tools, finishes, and assembly
- Includes expert tips and step-by-step instructions on tooling techniques, stamping tools, stitching, embossing, and braiding
- Start leather crafting with confidence. 48 pages in a softcover
- Tony Laier (Author)
- English (Publication Language)
Colored Pencil Step by Step: Explore a range of styles and techniques for creating your own works of art in colored pencils (Artist’s Library)
- Amazon Kindle Edition
- Yaun, Debra Kaufman (Author)
- English (Publication Language)
- 67 Pages – 01/01/2003 (Publication Date) – Walter Foster Publishing (Publisher)

How To Draw Anime: Drawing Anime Simple and Easy Step by Step. Learn to Draw your Favourite Anime Characters. Most fulfilling ways to express your direction. Perfect gift for Anime lovers.
- Books, Badmarsh Publishing (Author)
- English (Publication Language)
- 174 Pages – 12/05/2024 (Publication Date) – Independently published (Publisher)
Photography is more than just taking pictures. It’s about capturing moments, emotions, and stories. Starting your journey in photography can be exciting. With the right guidance, anyone can learn to take stunning photos. This guide will help beginners understand the basics and grow their skills.
Understanding The Importance Of Photography Skills
Photography skills are essential for everyone. They allow you to document life creatively. Capturing memories is a key part of our lives. Good photography skills enable you to do this effectively. Learning these skills will improve the quality of your photos. It will also boost your confidence in photography.
Effective photography skills can enhance your personal and professional life. They are valuable for social media sharing and personal enjoyment. In a professional setting, they can boost career opportunities. Companies value employees who can produce high-quality visual content.
Overview Of The 7-step Mastery Process
Learning photography can be broken down into simple steps. Here’s an overview of the process:
- Understand Your Camera: Learn the basics of your camera settings.
- Explore Exposure Basics: Master the relationship between ISO, aperture, and shutter speed.
- Composition Tips: Use the rule of thirds and leading lines.
- Lighting Techniques: Experiment with natural and artificial lighting.
- Lens Information: Choose the right lens for your subject.
- Shooting Scenarios: Practice in different environments and situations.
- Post-Processing: Edit your photos using basic photo editing software.
Each step is crucial for building a strong foundation in photography. By following this process, you’ll develop a comprehensive understanding. Start with your camera settings and move through each step gradually. Practice regularly to improve your skills.
Step 1: Getting To Know Your Camera
Embarking on a photography journey starts with understanding your camera. Grasping the basics helps in capturing stunning images. Knowing your camera ensures you use it effectively. Here’s what you need to know.
Exploring Camera Types And Their Uses
Different cameras serve various purposes. Here’s a simple breakdown:
| Camera Type | Use |
|---|---|
| DSLR | Great for professional photography and diverse shooting scenarios. |
| Mirrorless | Compact and ideal for travel or street photography. |
| Point-and-Shoot | Perfect for casual snapshots and ease of use. |
| Smartphone | Handy for quick photos and social media sharing. |
Basic Camera Settings And Functions
Understanding camera settings is crucial. Here are some essential settings:
- Aperture: Controls light entering the lens. Affects depth of field.
- Shutter Speed: Determines exposure time. Influences motion blur.
- ISO: Adjusts camera sensitivity. Impacts image brightness and noise.
Each setting plays a role in achieving the desired photo effect. Experiment with these settings to get the best results.
Step 2: Mastering Composition Techniques
Photography is not just about capturing moments. It’s about how you capture them. Mastering composition techniques elevates your photography from ordinary to extraordinary. This step is crucial for every budding photographer. It helps frame your subject in a way that tells a compelling story. Let’s delve into some essential techniques that can transform your photos.
Rule Of Thirds And Other Composition Rules
The Rule of Thirds is a fundamental guideline in photography. Imagine breaking an image into nine equal parts with two horizontal and two vertical lines. Place important elements along these lines or at their intersections. This creates more balance and interest in the photo. It’s a simple yet effective way to make your photos more engaging.
- Position your subject off-center.
- Use intersecting points for key elements.
- Draw the viewer’s eye naturally through your frame.
Beyond the Rule of Thirds, other rules enhance composition. The Golden Ratio and Leading Lines are popular methods. The Golden Ratio gives a more natural look to your photos. Leading Lines guide the viewer’s eye to the focal point.
| Composition Rule | Description |
|---|---|
| Golden Ratio | Creates a balanced and pleasing composition. |
| Leading Lines | Directs the viewer’s eye naturally. |
Framing And Perspective Tricks
Framing uses elements within a scene to create a ‘frame’ around your subject. It adds depth and focuses attention. Look for natural frames like windows, arches, or trees.
- Find a natural frame.
- Place your subject within this frame.
- Adjust your angle to enhance the effect.
Perspective Tricks change the way viewers perceive an image. Try different angles: high, low, or eye-level. Each angle offers a new viewpoint. It can make your subject look more dynamic. A unique perspective grabs attention and makes your photos stand out.
Experiment with these techniques to discover your style. Photography is an art; explore and enjoy the process!
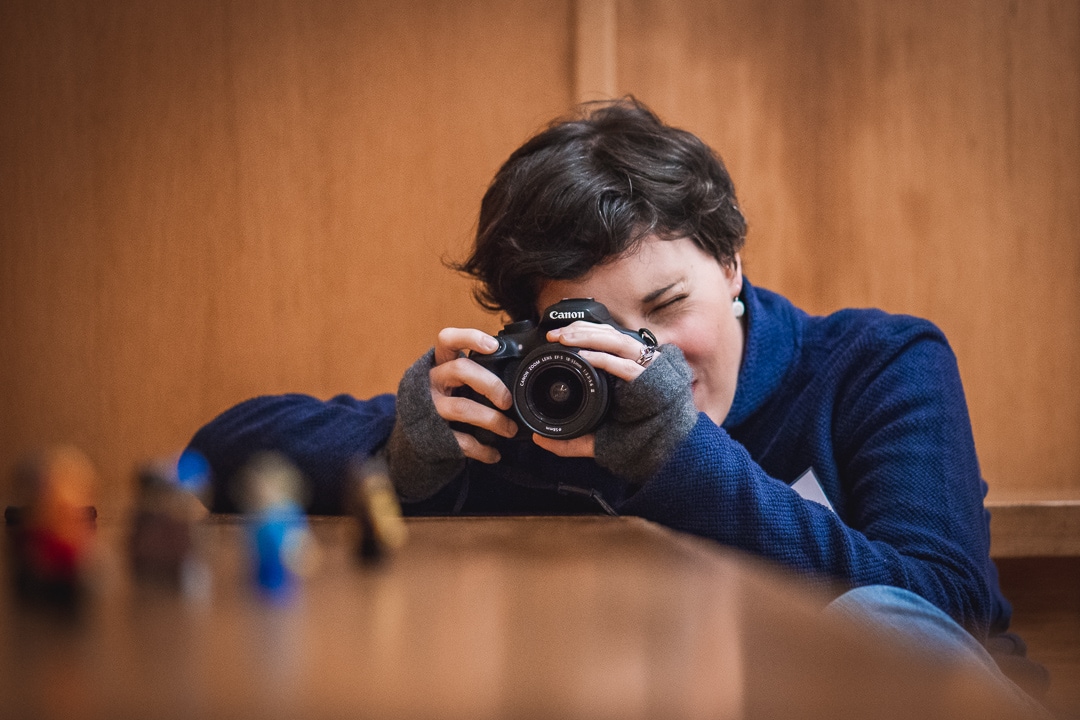
Credit: www.youtube.com
Step 3: Understanding Lighting And Exposure
Grasping the nuances of lighting and exposure can elevate your photography skills. Light impacts the mood, texture, and depth of your photos. Mastering exposure involves controlling how light interacts with your camera settings. Below, we’ll dive into the differences between natural and artificial lighting, and how to balance ISO, shutter speed, and aperture.
Natural Vs. Artificial Lighting
Natural lighting comes from the sun, varying with time of day and weather. Mornings and evenings offer soft, warm tones known as the ‘golden hour’. Midday light can be harsh, casting strong shadows. Cloudy days diffuse sunlight, providing even lighting.
Artificial lighting includes lamps, LEDs, and flashes. You control the light source, enabling consistent lighting conditions. Studio lights offer flexibility but require setup knowledge. Each type of light brings unique qualities to your images.
Balancing Iso, Shutter Speed, And Aperture
The Exposure Triangle consists of ISO, shutter speed, and aperture. Balancing them is crucial for well-exposed photos.
- ISO measures sensitivity to light. Lower ISO provides better quality; higher ISO is useful in low light.
- Shutter Speed determines how long the camera’s sensor is exposed to light. Fast speeds freeze motion; slow speeds create motion blur.
- Aperture controls the depth of field. A small aperture (large f-number) keeps more of the scene in focus; a large aperture (small f-number) isolates the subject.
Finding the right balance depends on your shooting scenario. For moving subjects, prioritize shutter speed. For portraits, adjust aperture for desired background blur. Adjust ISO based on available light.
Step 4: Perfecting Focus And Depth Of Field
Mastering focus and depth of field is crucial in photography. These elements define the clarity and artistic quality of your shots. Understanding how to manipulate them helps produce captivating images. Dive into techniques that enhance sharp focus and explore creative uses of depth of field.
Techniques For Sharp Focus
- Manual Focus: Adjust the focus ring to achieve precision. Ideal for low-light or macro photography.
- Auto Focus Modes: Use different modes for moving subjects or stationary objects. Experiment with single-shot and continuous focus.
- Focus Points: Select specific points for greater control. This helps in framing subjects accurately.
- Tripod Usage: Stabilize your camera to avoid blur. Essential for long exposure and night shots.
Creative Uses Of Depth Of Field
Depth of field manipulates the area in focus in your photograph. It’s a powerful tool for storytelling and composition.
- Shallow Depth of Field: Blur the background to highlight subjects. Perfect for portraits and close-ups.
- Deep Depth of Field: Keep everything in focus. Ideal for landscapes and group shots.
- Aperture Settings: Adjust the aperture size to control depth. Small apertures increase depth, large apertures decrease it.
- Foreground Interest: Use elements in the foreground to frame your subject. This adds depth and dimension.
Experiment with these techniques to create stunning and unique images. Understanding focus and depth of field elevates your photography skills.
Step 5: Editing And Post-processing
Editing and post-processing breathe life into your photos. Enhancing your images not only improves their aesthetic appeal but also communicates your unique vision. This step is crucial in transforming your raw photos into stunning visual stories.
Introduction To Photo Editing Software
Choosing the right photo editing software is essential. Popular options include Adobe Lightroom, Photoshop, and GIMP. Each offers unique features tailored to different editing needs. Lightroom is ideal for beginners, while Photoshop provides more advanced tools for intricate edits.
Free software like GIMP is excellent for starters. It offers robust features without the cost. Exploring these tools will help you find one that best suits your editing style.
Basic Editing Techniques For Enhancing Photos
Mastering basic editing techniques is key. Here are some essential methods:
- Crop and straighten: Adjust the composition by removing unwanted areas.
- Adjust exposure: Correct lighting issues for balanced brightness.
- Color correction: Enhance colors for more vibrant images.
- Sharpening: Improve image clarity and detail.
- Noise reduction: Reduce grainy textures for a smoother look.
Use these techniques to enhance your photos, creating a more polished and professional appearance. Editing is not just about fixing flaws, but also expressing creativity.
Step 6: Developing Your Unique Style
Photography is an art that allows endless creativity. As you progress, developing your unique style is essential. A distinctive style helps you stand out. It reflects your personality and vision. This journey involves exploring inspirations and crafting a signature look.
Finding Inspiration And Influences
Explore various photography genres. Study the works of renowned photographers. Analyze their techniques and compositions. Visit galleries and exhibitions for a firsthand experience. Examine how light and shadows play in different photos. Observe the emotions these images evoke.
- Browse online photography platforms.
- Join photography groups and forums.
- Follow photography blogs and podcasts.
Inspiration comes from diverse sources. Nature, urban landscapes, and daily life offer countless ideas. Document what attracts you. Make notes on what excites you. This helps in shaping your photography style.
Creating A Signature Look In Your Photos
Your signature look is your visual identity. Experiment with different camera settings. Play with exposure, aperture, and shutter speed. Consistency is key. Use post-processing tools to enhance your images. Adjust colors, contrast, and texture to match your vision.
Consider creating a mood board. Collect images that resonate with your style. Use this as a reference guide. It aids in maintaining a consistent theme across your work.
| Element | Description |
|---|---|
| Color Palette | Choose colors that define your style. |
| Lighting Techniques | Experiment with natural and artificial light. |
| Subject Matter | Select subjects that speak to you. |
Ultimately, your style should evolve naturally. As you grow, your taste and preferences will change. Embrace this evolution as part of your creative journey.
Step 7: Building A Photography Portfolio
Building a photography portfolio is crucial for showcasing your skills. It reflects your unique style and artistic vision. A well-curated portfolio can open doors to opportunities and collaborations. Let’s dive into how to create an impressive portfolio.
Selecting Your Best Work
Choosing your best photographs is essential. Quality over quantity should be your mantra. Aim to display a variety of images that highlight your skills. Consider these tips when selecting:
- Diversity: Include different genres and styles.
- Consistency: Maintain a cohesive theme.
- Impact: Choose images that evoke emotion.
Ask for feedback from peers or mentors. They can provide valuable insights into your work.
Presenting Your Portfolio Professionally
Presentation matters as much as the content. A well-presented portfolio can captivate your audience. Follow these guidelines:
- Format: Choose between digital or physical formats.
- Layout: Ensure a clean, organized layout.
- Details: Include titles and descriptions for context.
Consider using high-quality prints for physical portfolios. For digital, ensure images are optimized for fast loading. Keep your portfolio updated with your latest work. This reflects your growth as a photographer.
Building a photography portfolio takes time and effort. But the results are rewarding. Your portfolio is your visual resume. Make it count.
Pros And Cons Of Learning Photography
Photography is a fascinating journey. It opens a window to creativity and expression. Like any skill, photography has its ups and downs. Understanding these can help you decide if it’s right for you.
Benefits Of Mastering Photography
- Creative Expression: Photography lets you tell stories. Capture moments and emotions with a single click.
- Improved Observation: Train your eyes to notice details. See the world from different perspectives.
- Technical Skills: Learn about exposure, camera settings, and lenses. Gain knowledge that enhances your photography.
- Therapeutic: Many find photography calming. It offers a peaceful escape from everyday stress.
- Social Connections: Join communities. Share your passion with like-minded people.
Common Challenges And How To Overcome Them
| Challenge | Solution |
|---|---|
| High Initial Cost | Start with basic gear. Upgrade as you grow. |
| Steep Learning Curve | Break down complex topics. Use resources like Photography 101: Pocket Guide. |
| Time-Consuming | Set a regular practice schedule. Focus on small goals. |
| Maintaining Motivation | Join photography clubs. Find inspiration in your community. |
Recommendations For Aspiring Photographers
Starting your photography journey can be both exciting and overwhelming. With so much to learn, it’s essential to focus on key aspects that will help you grow. Here are some tips and resources to guide you on your path to becoming a skilled photographer.
Ideal Scenarios For Practicing Photography
Practicing in diverse scenarios enhances your skills significantly. Consider these ideal situations:
- Golden Hour: The time just after sunrise or before sunset. It offers soft, warm lighting that’s perfect for capturing stunning images.
- Street Photography: Captures candid moments and interesting scenes in urban settings. It helps you improve composition and timing.
- Nature and Landscapes: Offers a variety of lighting and subjects. Perfect for practicing exposure and composition.
- Portrait Sessions: Work with friends or family to practice posing and lighting techniques.
Engage in these scenarios regularly to build confidence and creativity. Each provides unique challenges and learning opportunities.
Resources And Communities For Continued Learning
Access to resources and communities can greatly enhance your learning experience. Here are some helpful options:
| Resource | Description |
|---|---|
| Photography 101: Pocket Guide | A comprehensive guide covering exposure basics, camera settings, lens info, and composition tips. |
| Online Courses | Platforms like Coursera and Udemy offer courses for every skill level. |
| Photography Forums | Join communities on Reddit or Flickr to share and receive feedback. |
| Local Photography Clubs | Meet other enthusiasts in your area to learn and grow together. |
Joining a community allows you to connect with fellow photographers. You can share experiences, receive critiques, and stay motivated. Utilize these resources to deepen your understanding and refine your skills.
Credit: www.adorama.com
Frequently Asked Questions
How Do I Teach Myself Photography?
Begin by studying photography basics online or through books. Practice regularly with different settings and subjects. Experiment with manual settings to understand exposure, aperture, and ISO. Join photography forums or groups for community support. Analyze and critique your photos to improve.
Watch tutorials on editing techniques for post-processing skills.
What Is The 20-60-20 Rule In Photography?
The 20-60-20 rule suggests spending 20% time planning, 60% shooting, and 20% reviewing and editing photos. This approach helps photographers efficiently manage their workflow, ensuring balanced focus on preparation, execution, and refinement of images for optimal results.
What Are The 5 C’s Of Photography?
The 5 C’s of photography are Composition, Creativity, Control, Connection, and Color. Composition involves arranging elements pleasingly. Creativity adds uniqueness. Control manages settings like exposure. Connection engages viewers emotionally. Color enhances mood and storytelling.
How To Learn Photography For Beginners At Home?
Begin with online courses and YouTube tutorials to grasp basic concepts. Practice regularly using a smartphone or digital camera. Join photography forums for feedback and tips. Experiment with different settings and compositions to enhance skills. Read photography books and articles to deepen your understanding.
Conclusion
Photography is a rewarding journey. Capture moments, express creativity, and learn new skills. Whether you’re a beginner or experienced, photography offers endless opportunities. Practice often, experiment with different techniques, and explore your surroundings. Your unique perspective makes each photo special. For handy tips and insights, check out the guide: Photography 101: Pocket Guide. Keep your camera ready, and capture the beauty around you. Happy shooting!